

Thumbnails with your own face on them.
Make the thumbnail with your own face on it, in wide.
Already have an account? Sign in
Free to start · No credit card
Thumbnails with your own face on them.
Make the thumbnail with your own face on it. Pick the character you saved once, say what the shot is, choose the wide canvas, and render. Do it again next week and it is still the same person looking back, because the face is something you saved rather than something you described.
A picture made in the Studio, from a written description.
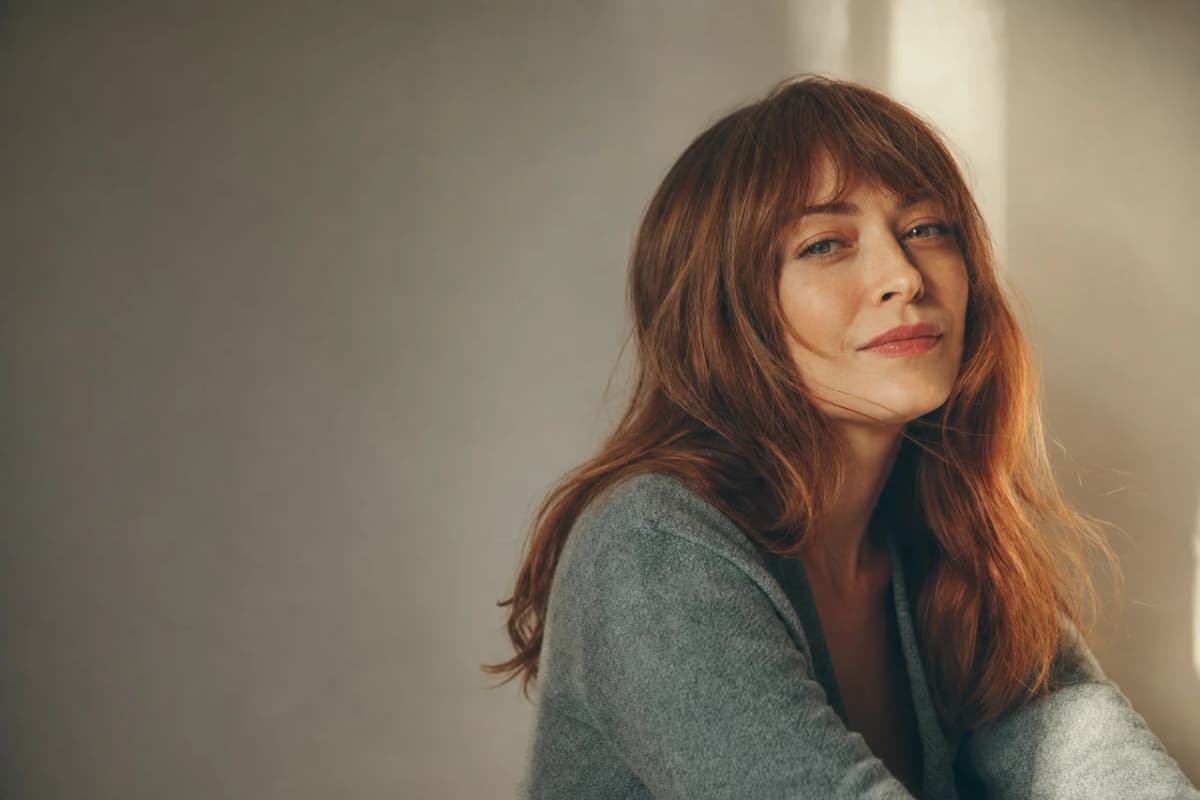
We make the picture. There is no type layer and nothing uploads anywhere, so the file is yours to take.
Part of AI images.
How do you make a thumbnail with your own face on it?
A thumbnail generator makes the still picture that sits in front of a video. In Kyndrify you pick your character, describe the shot, choose the wide canvas and render it. Your saved face carries across every one, so a row of thumbnails looks like the same person. There is no type layer, so words are part of the picture.
Who it is for
Anyone who ships video on a schedule and has to make the picture in front of it. Creators with a channel, course sellers, founders posting every week.
What you need
A face we can hold onto: the character you saved, one of ours, or a few photos of the same person. Plus one sentence about the shot.
What it costs
A wide thumbnail costs 30 credits on Light, 114 on Standard and 450 on Premium. Premium is on the Basic plan and above. The Free plan starts you with 8,400 credits that do not expire. See what a plan's credits buy.
What it does not do
No type layer and no upload. It makes the picture, one at a time, and you take the file from there.
The video is done. The picture in front of it is not.
Three bad options, and everyone who posts on a schedule knows all three. A frame grabbed off the video, where the face is caught mid-word. A ready-made layout that half the feed is also using. Or an afternoon in a design tool you do not own and have not learned.
And whichever one you pick, the next one looks nothing like the last, so a row of a channel's pictures reads as a row of strangers. The fix is not a better layout. It is holding the face still while everything else changes.
Three steps, and you have the file.
- 1
Pick the face.
Your own saved character, one of ours from the catalog, or, in the Edit tab, a few photos of the same person. A character you saved carries its own reference pictures into the render, which is what keeps the likeness steady.
- 2
Say what the shot is.
One sentence. Where they are, what they are doing, what the mood is. You describe the setting rather than yourself, because the reference is already holding the likeness. Short beats long here.
- 3
Pick wide, then render.
Wide is 16:9, the shape a video thumbnail sits in. The cost is on the button before you press it, so nothing arrives as a surprise, and the finished picture lands in your Library.
Start from a style, then put yourself in it.
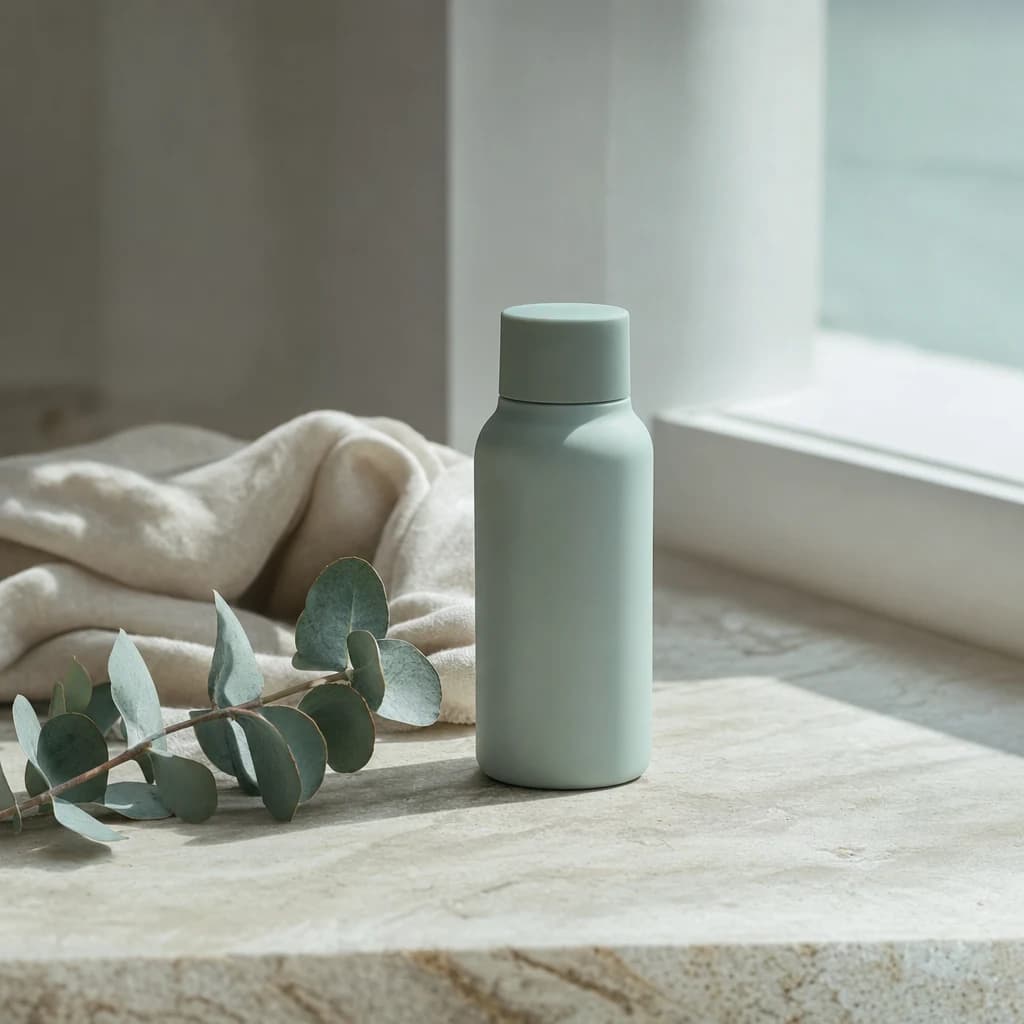
A finished look, and two or three boxes to fill.
The Graphics tab is a shelf of finished styles with a few fields each. You name the subject, sometimes a colour or an action, and it renders in that style, with no blank prompt box and nothing to learn about what to type. Every style takes all three canvases, so ask for wide and the style follows you there. Those styles take words, not faces. To get yourself into one, make the picture first, then open it in the Edit tab and turn on Keep this face with a few more photos of the same person. An edit honours the canvas you pick, so a style that normally comes back square comes back wide when you ask for wide. That is two renders, and the second is priced as an edit, which is the per-picture rate doubled.
A row of them that looks like a row.
The reason to save a character rather than describe yourself every time is what happens on the twelfth picture.
Described every time
- The jaw changes. The hair changes. The age drifts.
- The person in October is not quite the person in August.
- A channel page full of that reads as a channel run by several people.
- The prompt that worked once is the only record of how they looked.
Saved once, cast every time
- The character carries its own reference pictures into every render, and they lead the set.
- The likeness is the fixed part. The scene is the part you change.
- You can add up to four reference pictures to one image, and a cast character takes one of them.
- Pick a saved look as well and the clothes stay put too.
Three doors, and what each one holds onto.
The question anyone who has tried this has is which tab to press, and what it actually binds.
Scene
Pick your character and describe where they are. A desk with two monitors, a kitchen at breakfast, a bare studio wall. The canvas is yours to choose here, so this is the door for a wide picture of the character you saved.
Freeform
Describe the whole picture, and bring a character or a reference along when the likeness matters. It is the tab with the look catalog, 28 looks that hold one direction across a series. Attach a picture or a character and the canvas matches that source instead of staying yours to pick.
Edit, with Keep this face
Start from a picture you already have. A frame out of the video itself works well. Say what should change, turn on Keep this face, and add a few more photos of the same person so the face survives the change. An edit honours the canvas you pick.
Cast a character, or hold a face.
One difference is worth knowing before you press anything. Scene and Freeform cast the character you saved, so the likeness is the one you built and the consent record sits behind it. Edit does not cast anybody. It holds a face from the photographs you hand it right there, which is why it is the door for a picture that already exists.
Casting a character also makes the render an edit, so it comes back as one picture and it bills at the edit rate. If you want the same character across a whole set of images rather than one picture in front of one video, that is its own job and its own page.
A real person's face needs their permission.
If the face is yours, that is a Digital Twin, and it starts with a short consent recording we keep on file. A Digital Twin is not made from a photo alone: the person records a short clip agreeing to it, and the face in that recording is compared with the face in the photo. Consent can be withdrawn later, and the character stops rendering. An Avatar is a character we generated, with nobody real behind it, so it needs no such record. If you have no character of your own yet, the ready-made presenters can carry a thumbnail too.
If the face is somebody else's, you need their permission to make and publish pictures of them. That is your call to make, not ours, and our acceptable use policy says the same thing in longer words.
Your pictures, your uploads and your results belong to your Workspace, and they are not used to train a Kyndrify model. There is no training step at all: a character's saved photos are sent as references with each render. Built-in AI labelling is still rolling out across output types, so write the disclosure line yourself wherever you publish rather than assuming the file carries it. Read the biometric notice and how we build responsibly.
What it does not do, said up front.
No type layer
There is no box to type a headline into and no words sitting on top that you can move later. Add them afterwards wherever you already do, or ask for them in the description and read every letter before you publish.
No upload
Nothing here connects to a video platform. You download the picture and upload it yourself, wherever the video lives.
One at a time
One picture in, one picture out. Variations is the one action that returns more than one, up to four close versions of the same picture, and it bills every version it makes. That is not the same as ten different ideas to test against each other.
Free plan limits
A picture made on the Free plan carries a small visible mark, and it comes off from the Basic plan and above. The Free plan runs three renders a day and builds one character of your own, once.
Questions people ask before they render one.
- Can I really put my own face on it?
- Yes, and there are two ways. Save your face as a character once and pick it in the Scene tab, and every thumbnail after that casts the same person. Or start from a picture you already have, open it in the Edit tab, and turn on Keep this face with a few more photos of the same person.
- What shape does the picture come out?
- Whatever you pick: square, wide or tall. For a thumbnail you want wide, which is 16:9. An edit uses the canvas you pick too, so a square picture can come back wide. The one place the shape is not yours is the Freeform tab once a picture or a character is attached, where the canvas matches that source instead.
- Can I put the headline on it here?
- No. There is no type layer and no text tool. Put the words on afterwards wherever you already do. You can ask for words in the description, and sometimes they come out right, but check every letter before you publish, because nothing here guarantees the spelling.
- What does it cost?
- A wide thumbnail costs 30 credits on Light, 114 on Standard and 450 on Premium. Premium is on the Basic plan and above. A style plus a face is two renders, and the second one is priced as an edit, which is the per-picture rate doubled. The Free plan starts you with 8,400 credits that do not expire.
- Will it still look like the same person in three months?
- That is what the saved character is for. Its reference pictures go into every render and lead the set, so the likeness is the part that stays fixed while the scene changes. Pick a saved look as well and the clothes stay put too.
- Can it upload the thumbnail for me, or make ten to test?
- Neither. Nothing here connects to a video platform, so you download the file and upload it yourself. And it is one picture per press, so a set of ten is ten presses. Keep the same character and the same look each time and they will still read as a set.
The tools that do this
More on this from the blog
One face, one wide picture.
Pick the face, say what the shot is, and see what comes back. The Free plan starts you with 8,400 credits that do not expire.