

How to Make a Video From a Script
Learn how to make a video from a script with a clear brief, timed read, scene map, rights checks, accessible media, and final QA.
Making a video from a script means turning written words into planned sound and pictures. The process has four stages: write a clear brief, do a timed table read, plan each scene and output, and run final QA. You can record with a camera, use a tool with a stock presenter, or work with a verified digital Twin. Each path has its own setup and review needs.
This guide gives you a practical framework to move from a blank page to a publishable video. You will find a fill-in brief, a compact script template, a scene map, a pronunciation list, visual and audio rights checks, a version log, and a publish checklist. You will also see an illustrative script and scene plan, plus a QA rubric you can adapt to your own projects.
The four stages of script-to-video production
Treating the process as a single “paste and render” step often leads to rework. Breaking it into four stages helps you catch problems early.
- Script brief. Define your audience, goal, core message, and call to action before you write a single line.
- Timed table read. Read the script aloud at your natural pace and time it. Adjust words to fit your target length.
- Scene and output plan. Decide what the viewer sees during each line. Map visuals, captions, and any supporting media. Choose your output format and delivery method.
- Final video QA. Watch the full video with a checklist. Verify claim accuracy, pronunciation, timing, identity, captions, visuals, audio, disclosure, links, and file details.
The rest of this guide walks through each stage in detail.
Stage 1: Write a script brief
Before you draft the script, answer these questions. A brief keeps your video focused and makes the table read more useful.
- Who is the primary audience? (Example: small-business owners who want to explain a service.)
- What is the one thing they should understand after watching?
- What action should they take? (Example: book a call, download a guide, visit a pricing page.)
- Where will the video live? (Website, social feed, email, ad campaign.)
- What is the target length? (Example: 60 seconds, 90 seconds.)
- What tone fits the context? (Conversational, instructional, urgent.)
Keep the brief short. It is a compass, not a script.
Stage 2: Write and time the script
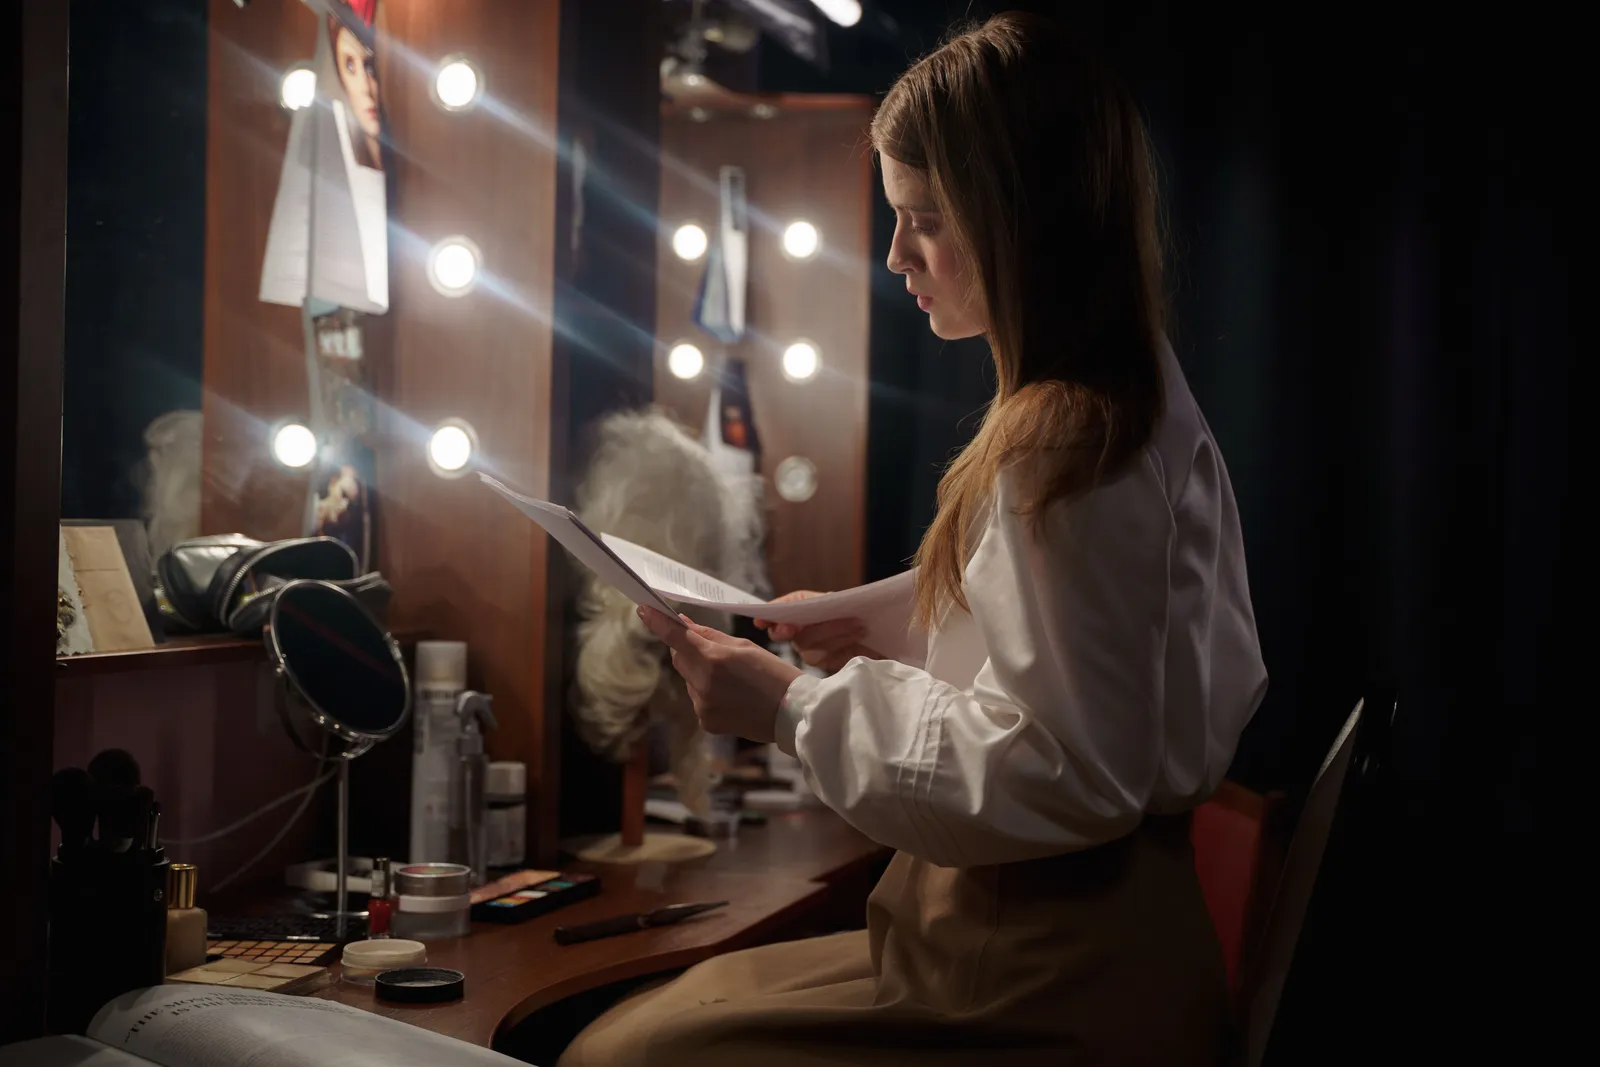
A script that reads well on a page can still feel rushed or slow when spoken. Use this template to structure your draft, then read it aloud with a timer.
Compact script template
HOOK (1–2 sentences): A result, question, or surprising fact that earns attention.
CONTEXT (1–2 sentences): Why this matters to the viewer right now.
BODY (3–5 short beats): One idea per beat. Steps, proof, or examples.
CTA (1–2 sentences): The exact next action, tied to the benefit.
Pacing check: Do not use a universal word count. Read the full script aloud at the planned pace and time it. Leave room for pauses, names, visual steps, and the CTA. Cut filler. Split long lines. If a beat repeats a point, combine it.
Pronunciation list. As you read, note any names, product terms, or technical words that could be mispronounced. Write the phonetic spelling next to each one. Share this list with anyone who will voice or review the video.
Version log. Save each draft with a date and a short note about what changed. This makes it easier to compare reads or revert if a later edit loses clarity.
Stage 3: Build a scene and output plan
A script is only half the video. The scene plan describes what the viewer sees and hears during each line.
Scene map columns (illustrative)
| Time | Script line | Visual on screen | Audio note |
|---|---|---|---|
| 0:00 | Hook | Presenter on camera or Twin | Natural delivery |
| 0:05 | Context | Text overlay or B-roll | Same |
| 0:12 | Beat 1 | Screen recording or product shot | Same |
| … | … | … | … |
| End | CTA | On-screen link or QR code | Clear, slower pace |
Visual and audio rights check. Before you add any image, clip, or sound that you did not create yourself, confirm you have the right to use it in a published video. This includes stock assets, screenshots of third-party tools, and background music. Document the license or permission for each asset.
Captions and accessibility. The World Wide Web Consortium (W3C) notes that captions provide a text version of speech and important non-speech audio for people who are Deaf or hard of hearing. W3C media accessibility guidance also describes transcripts, audio description for needed visual information, and sign language where the audience needs it. Plan whether your video needs captions, a transcript, or both before you export.
Output and delivery. Decide on your file format, resolution, and where the video will be hosted or embedded. If you plan to publish on multiple platforms, note any platform-specific length or format requirements now.
Stage 4: Final video QA rubric
Use this checklist before you publish. Adapt it to your project.
- Claim accuracy. Every factual statement matches a verifiable source.
- Pronunciation. Names and terms match the pronunciation list.
- Timing. The video length fits the target. No section feels rushed or dragged.
- Identity and voice. The presenter (you, a stock presenter, or a verified Twin) matches the intended speaker.
- Captions. Captions are present, synced, and include needed non-speech audio cues.
- Visuals. Every visual supports the spoken line. No placeholder or low-resolution asset remains.
- Audio. Levels are consistent. No distracting background noise.
- Disclosure. If AI-assisted, the video includes clear disclosure (for example, C2PA Content Credentials or an on-screen label).
- Links and CTAs. Every link works. The call to action is visible and matches the script.
- File details. File name, format, and metadata are correct for the delivery platform.
Three production paths
You can turn a script into a video in more than one way. Choose the path that fits your resources, timeline, and audience expectations.
- Camera recording. You set up a camera, light, and microphone, then deliver the script. Plan the set, performance, capture, edit, rights, and output checks.
- Text-to-video with a stock presenter. Some tools offer a library presenter. Check consent, permitted use, voice, output, disclosure, and fit for the brief.
- Verified-Twin workflow. Kyndrify says you supply a script and a verified Twin delivers it. Its talking-head video page describes the Twin as built from the user's face and voice, with consent recorded before rendering. Signed Content Credentials and invisible provenance are rolling out and are not guaranteed on every file. Kyndrify uses a shared credit balance across supported tools, with subscription credits that reset monthly and pay-as-you-go packs that last three months. Check the pricing page for current plans and allowances.
Kyndrify-specific steps (based on current published workflows): The Kyndrify talking-head video page describes Twin setup using a headshot and a short voice clip. You can write a script fresh or start from a template. After rendering, you receive a video download and a hosted link. For longer scripts, the documented workflow includes splitting the script into sections and stitching the rendered segments together. Free renders use preset avatars and voices; own-face rendering starts on an eligible plan such as Plus.
Pricing snapshot: Kyndrify's current visible plans include Free, Basic, Starter, and Plus. Free uses preset avatars and voices and includes 8,400 one-time signup credits with no card required. Plans use a shared credit balance, and pay-as-you-go credit packs are available. Marketing Studio, ad creator, and copywriter are shown as coming soon. Check the pricing page for current rates and terms.
Illustrative worked example
The following script and scene plan are illustrations. They show how the pieces fit together. They are not performance promises.
Brief (illustrative)
- Audience: Freelancers who want to explain their process to clients.
- Goal: Explain the three steps in the freelancer's project workflow.
- CTA: Download a one-page process checklist.
- Length target: ~60 seconds.
- Tone: Helpful, direct.
Script (illustrative, ~138 words)
HOOK: Here are the three steps in our project plan.
CONTEXT: The plan shows what is due, who owns it, and when we review it.
BEAT 1: First, we agree on the brief and source files.
BEAT 2: Next, we review the first draft against that brief.
BEAT 3: Last, we log changes and sign off on the final file.
CTA: Get the one-page process checklist at the link on screen.
Scene plan (illustrative, first 15 seconds)
| Time | Script line | Visual | Audio note |
|---|---|---|---|
| 0:00 | Here are the three steps in our project plan. | Presenter on screen | Steady read |
| 0:05 | The plan shows what is due. | Text overlay: “Task” | Brief pause |
| 0:10 | It also shows who owns it. | Simple owner field from the approved plan | Same tone |
| 0:15 | And when we review it. | Approved review date | Read the date clearly |
Publish checklist
Before you release the video, confirm these items:
- Script brief is complete and matches the final video.
- Table read timing fits the target length.
- Scene map is filled for every line.
- Pronunciation list was shared and checked.
- Visual and audio rights are documented.
- Captions are present and synced.
- QA rubric items are all checked.
- Version log is updated with the final export date.
- Disclosure (if AI-assisted) is visible.
- All links and CTAs work.
FAQ
1. Do I need a finished script before I start production? Use an approved script before the main capture or Render. A timed draft and scene map can expose pace, CTA, claim, or visual gaps before final production.
2. How do I handle a script that is too long for one video? Break it into logical sections. Each section should stand alone with its own mini-hook and CTA, or you can stitch sections together if your production path supports it. Kyndrify’s documented talking-head workflow describes splitting longer scripts and stitching the rendered segments.
3. What is the difference between captions and a transcript? Captions are time-synced text shown with the video. A transcript is a text version of the speech and needed sound or visual details. Use the W3C guidance and the needs of your audience to plan the right media.
4. Can I use the same script for a camera recording and a Twin render? You can start with the same approved words. Run a timed read and scene check for each path. Record any change so the test, rights review, and final approval use the right version.
5. How do I know if my video needs AI disclosure? If any part of the video was generated or altered by AI, check the platform rules where you will publish. Kyndrify is rolling out signed Content Credentials and invisible provenance, but they are not guaranteed on every file. You may still need a visible label depending on the platform.
Related reading
Disclaimer: This article describes general production workflows and illustrates them with examples. Pricing, features, and workflows for any named service reflect publicly available information as of July 2026 and may change; Kyndrify product and pricing details were separately checked on 26 September 2026. Always check the provider’s official site for current details. The worked example is an illustration, not a guarantee of any specific outcome.
More from Kyndrify


Make your first video without filming.
Say what you need and the studio makes it: video, images, voices. Start free, no credit card.