

How to Edit Photos With AI
Learn how to edit photos with AI for backgrounds, retouching, lighting fixes, and upscaling. See when AI helps and when a real edit is better.
How to Edit Photos With AI
You can edit photos with AI. It removes backgrounds. It retouches faces. It fixes lighting. It upscales images. AI tools work fast. They often free up time for creative work. But they are not perfect. Some edits still need a human touch.
AI photo tools help you do more in less time. They cannot replace every hand edit. But they make many tasks easier. Here is how to use them well.
How to Remove or Replace Backgrounds With AI
You can remove backgrounds with AI tools. Upload your image. Let the tool detect edges. It will cut out the subject for you.
Many AI editors also offer background replacement. Some even suggest new backdrops. This works best for simple images like product photos.
Hard backgrounds may need extra tweaks. But AI saves time on basic cuts.
How to Retouch Photos With AI
AI can smooth skin. It can fix blemishes. It often does a better job than manual tools. Some editors also adjust lighting for you. They can balance color too.
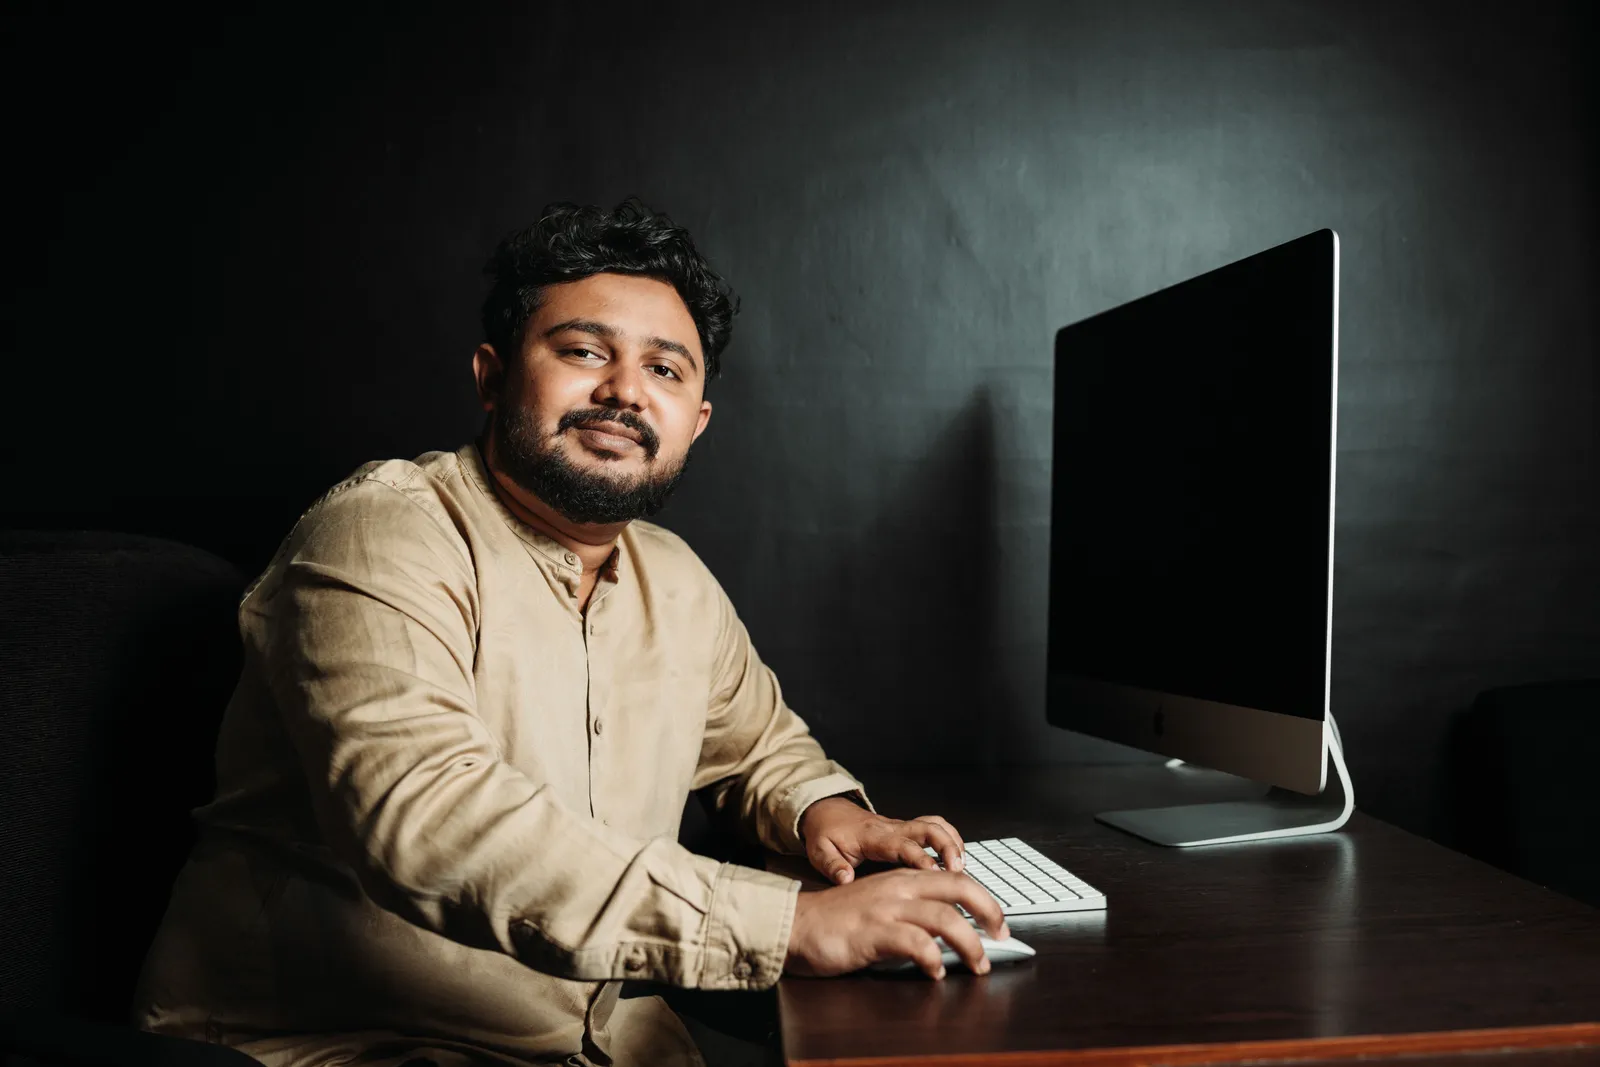
But be careful with heavy retouches. Too much can make faces look fake. Use AI for small fixes. Avoid full changes.
How to Fix Lighting With AI
AI photo editors can brighten dark images. They can also soften harsh light. This works best for small adjustments.
Hand edits may work better for big light changes. But AI is great for quick fixes. It helps when you have many photos at once.
How to Upscale Photos With AI
AI upscaling makes low-res images sharper. It adds detail. It reduces blur. This helps when you need a larger version of an old photo.
But do not expect miracles. AI cannot bring back lost detail. Start with the best source file you have.
When to Use AI for Photo Editing
Use AI when:
- You have many photos to edit
- You need quick fixes like background removal
- You want subtle retouches or lighting changes
AI saves time on batch work. It helps you focus on the look. You spend less time on fine edits.
When to Edit Photos Manually
Hand editing works best for:
- Hard backgrounds with fine details
- Heavy retouching that needs care
- Big lighting or color changes
Some edits still need a human touch. AI tools cannot replace all hand work. But they make many tasks faster and easier.
A Safe AI Photo Editing Workflow
Start with a copy of the source file. Keep one clean copy. You can check details later. You can also start again.
- Define one edit. Remove the background, fix exposure, retouch a small area, or upscale. Do not ask for every change at once.
- Protect the subject. Mask faces, products, logos, text, and fine edges that must stay exact.
- Generate a few options. Compare them at full size instead of choosing from a small preview.
- Check the hard areas. Zoom in on hair, hands, glare, rings, labels, and repeat patterns.
- Make a manual pass. Repair rough masks, color shifts, warped text, or details the model invented.
- Export for the final use. Keep a high-quality master. Make smaller web or social copies from it.
This order makes errors easier to spot. It also keeps you from stacking one risky AI edit on top of another.
How to Check an AI-Edited Photo
Compare the result with the source side by side. Ask if the edit changed a face, product shape, color, or text. Those changes can turn a small edit into a false one.
View the image on both light and dark backdrops. A cutout that looks clean on white may show a halo on another color. Check the file at its final size too. Flaws and harsh edges may stand out after a resize.
For a product image, check the label, size, color, and parts. For a face, keep skin and key traits true to life. If exact details matter more than speed, ask a person to check the image before it goes live.
Which File Should You Export?
Keep a high-quality master when more edits will follow. Use PNG only when you need a clear backdrop. For the web, make a small copy that stays clear and loads fast.
Do not write over the source. Name each file by use, such as product-front-web or portrait-approved. Clear names make review and later fixes much easier.
How Kyndrify Helps With AI Photo Editing
Kyndrify offers AI images and product photos. It also provides talking-head video and dubbing tools. See the talking-head video page and the translate page for what the Studio can do.
For more details, see our pricing page. Through the Glass Creatives built Kyndrify to save time on video and photo work.
Frequently asked questions
Question: Can AI replace all manual photo editing?
Answer: No. AI helps with many tasks but can’t do all manually. Complex edits often need a human touch.
Question: Is AI upscaling good for old photos?
Answer: Yes, it can make them sharper. But it can’t restore lost details. Start with the highest resolution possible.
Question: How do I remove backgrounds with AI?
Answer: Upload your image and let the tool detect edges. It will cut out the subject for you.
Question: Can AI fix bad lighting in photos?
Answer: Yes, for small adjustments. For big changes, manual edits may work better.
Question: Is Kyndrify good for photo editing?
Answer: Kyndrify offers AI images and product photos, plus talking-head video and dubbing. See the talking-head video page and the translate page for current features.
Related reading
More from Kyndrify
The tools that do this
Make your first video without filming.
Say what you need and the studio makes it: video, images, voices. Start free, no credit card.