

From Storyboard to Render: A Shot Approval Workflow
Use three approval gates to move a shot from storyboard to final render with a clear change log. Includes a shot table, worked example, and edge cases.
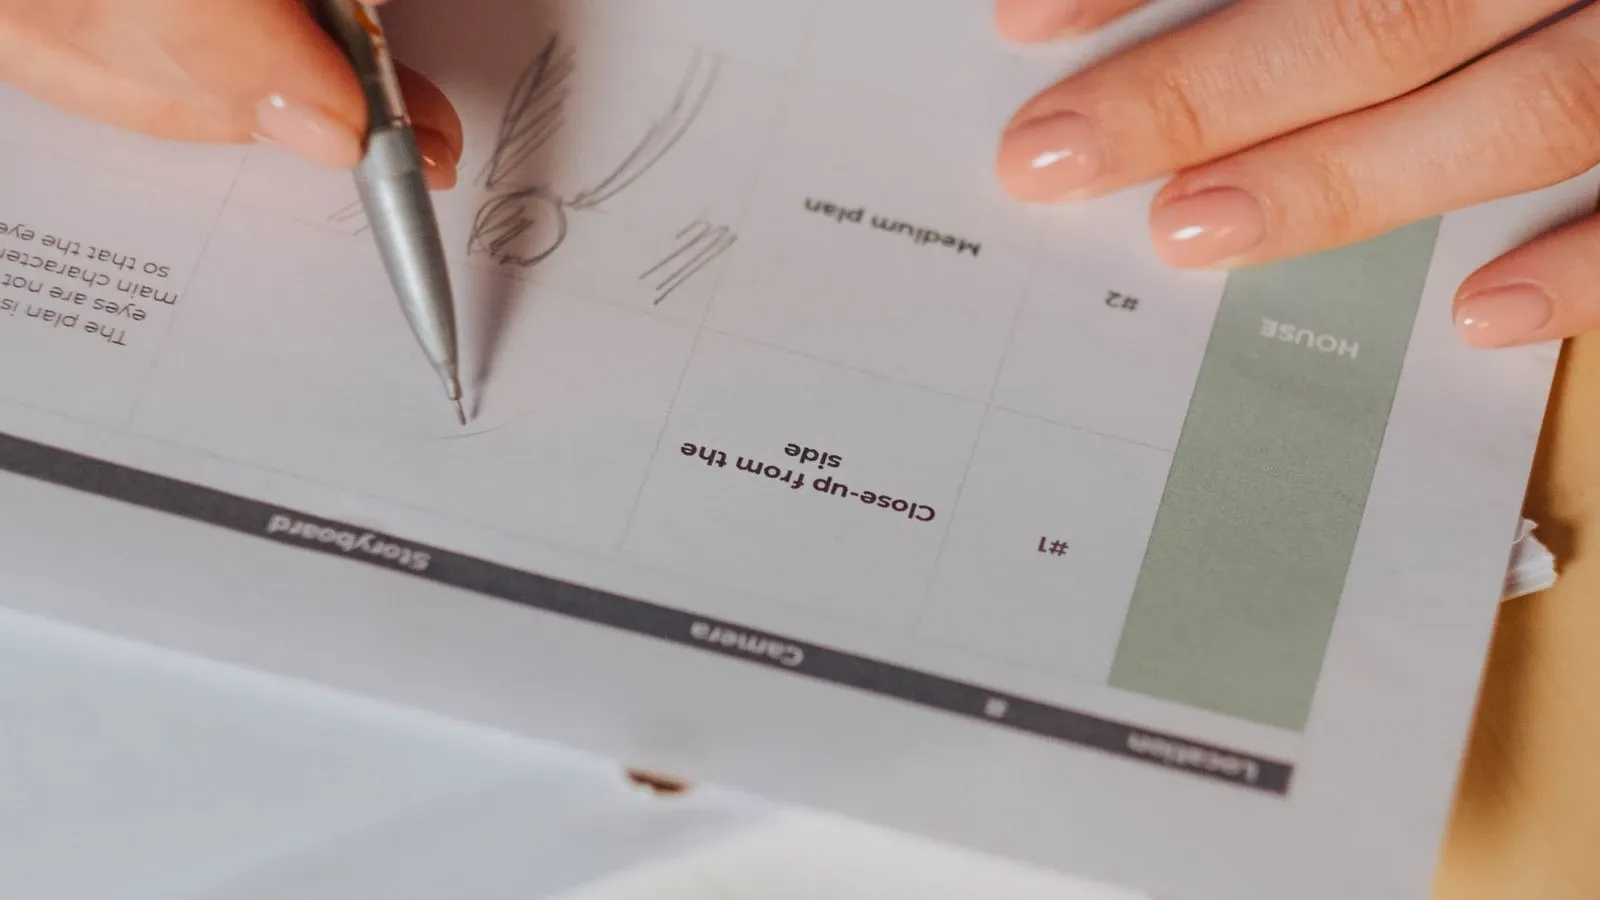
A shot approval workflow moves each shot through three gates before you commit to a final render. The gates are storyboard, short test shot, and final render. At each gate, one named person approves, holds, or sends the shot back for rework. The goal is a clear record of what changed and why.
This article gives you a proposed method you can adapt. You will find a shot table, a fictional worked example, edge cases, and short FAQs. It is not a scripting guide. It is a change-control method for shots that already have a script and a visual plan.
Why three gates
A single approval at the end invites late surprises. You render a full shot, then someone notices a wrong prop or a missing caption. Three gates catch those problems earlier.
The first gate checks the storyboard. The second gate checks a short test shot. The third gate checks the final render. Each gate has a narrower job than the one before.
This method can work for camera shoots, AI renders, or hybrid pipelines. The gates stay the same. Only the evidence changes.
The shot approval table
Use one row per shot. Fill every column before you move to the next gate. The table is your change log and your sign-off record.
| Column | What to record |
|---|---|
| Shot ID | A short unique code, such as S01 or 02B |
| Storyboard evidence | Frame sketch, shot list line, or approved still |
| Test shot evidence | Short clip or low-res render, with timestamp |
| Final render evidence | File name, duration, and resolution |
| Owner | One named person who approves or rejects |
| Status | Approved, Hold, or Rework |
| Change log | Date, change, and who requested it |
Keep the table in a shared document. Do not approve a shot by chat message alone. The table is the record.
Gate 1: Storyboard
The storyboard gate checks intent. Does the shot match the script and the visual plan? You are not checking polish here. You are checking direction.
Review these items:
- The shot shows the right subject and action.
- The framing matches the scene plan.
- Any text on screen is spelled correctly.
- The shot length fits the timed script.
- Accessibility needs are noted. The W3C Web Accessibility Initiative advises planning captions, transcripts, and audio description as part of video production, not after the fact. W3C media accessibility planning lists checklists for audio and video content and recommends including accessibility requirements in project requirements and contracts.
If the storyboard passes, mark the shot Approved and move to the test shot. If not, mark Rework and write the change in the log.
Gate 2: Short test shot
The test shot gate checks execution. Render or record a short clip. Five to ten seconds is one suggested starting point, but pick a length that covers the hardest part of the shot. Do not render the full shot yet.
Review these items:
- The test clip matches the approved storyboard.
- Motion, lighting, and framing look right.
- The voice or audio matches the plan.
- Any captions or text are legible.
- The clip does not cause flashing or other issues. The W3C notes that video content should not cause seizures, which is a WCAG requirement. W3C media accessibility planning includes this in its video checklist.
If the test shot passes, mark it Approved and move to the final render. If not, mark Rework and log the change. Use the test to decide whether a full render is worth attempting. The cost of testing and rework varies by project.
Gate 3: Final render
The final render gate checks the complete shot. This is the last check before the shot joins the edit.
Review these items:
- The full shot matches the approved test shot.
- The duration matches the timed script.
- Audio levels are consistent.
- Captions are present and synced if needed.
- The file name and format match your delivery spec.
- The change log has no open items.
If the final render passes, mark it Approved. The shot is locked. If not, mark Hold or Rework and log the change.
Freeze scope and record changes
Scope creep is one risk in shot approval. A stakeholder sees a test shot and asks for a new angle. That is a change, not a fix.
Record every change in the log. Include the date, the change, and who requested it. Then decide if the change is in scope. If it is not, push it to a later version or a new shot.
Aim to freeze scope after each gate. In practice, small changes still happen. The log makes them visible. Do not promise that this method saves render costs. It can reduce rework, but every project is different.
Worked example: a product explainer shot
This example is fictional. It shows how the table and gates work together. It is not a performance promise.
A small team is making a 60-second product explainer. Shot S03 shows a customer opening the product box. The owner is the producer.
Gate 1: Storyboard
The storyboard shows a close-up of hands opening a plain box. The producer checks the frame against the scene plan. The on-screen text reads "Unboxing" with correct spelling. The producer approves it. The change log is empty.
Gate 2: Test shot
The team renders a six-second test clip. The box is plain, but the hands move too fast. The producer marks the shot Rework. The log reads: "2026-09-28, slow hand motion by 30 percent, requested by producer."
The team renders a second test clip. The motion is right. The producer marks the shot Approved.
Gate 3: Final render
The team renders the full eight-second shot. The producer checks the clip against the approved test shot. The motion matches. The audio is clean. The file name is S03_final_v2.mp4. The producer marks the shot Approved.
The shot is locked. Further changes need a new change request.
Here is a filled acceptance record for the same fictional shot. Each gate has its own status, so an approved sketch cannot be mistaken for an approved export.
| Gate | Evidence and acceptance check | Reviewer | Status and next action |
|---|---|---|---|
| Storyboard | S03-board-v2: compare box shape and included parts with the real sample and approved pack list | Producer | Approved for test only |
| Test | S03-test-v1, seconds 2–4: hands hide the contents; viewer cannot see what is included | Producer | Rework: slow the reveal and show only listed parts |
| Final | S03_final_v2.mp4: contents match the sample; full clip and caption timing checked | Producer | Approved for edit; any later change reopens this record |
Store the reference photo and pack list with the record. A generated shot that adds an accessory must be corrected even if it looks polished.
Edge cases
The stakeholder wants a change after final approval. Open a new change request. Do not silently edit the locked shot. If the change is small, you may re-open the shot at Gate 3. If it is large, go back to Gate 1.
The test shot looks different from the storyboard. Stop. Do not approve the test shot just because it looks good. Check whether the storyboard or the test shot is wrong. Fix the mismatch before moving on.
The shot has no speech or needed audio. The W3C advises telling users when captions are not needed. For example, you can note that the only sound is background music. W3C media accessibility planning suggests a captions file with a note such as "[background music]" or a text label near the video.
The shot has visual information that is not in the audio. Plan audio description or a descriptive transcript. The W3C lists audio description or a media alternative as a Level A requirement when visual information is needed to understand pre-recorded video. Level AA requires audio description where applicable. W3C media accessibility planning includes this in its video checklist.
Two owners disagree. The table has one owner per shot. If two people disagree, the named owner decides. Escalate only if the owner cannot decide.
A low-risk shot seems too simple for three gates. You can document a low-risk exception. For example, a static title card with no motion and no audio may skip the test shot gate. Write the reason in the change log. Do not skip gates silently.
FAQ
1. How long should a test shot be?
Five to ten seconds is one suggested starting point. The test shot checks execution, not the full story. Pick the part of the shot that is hardest to get right. For a complex motion shot, you may need a longer test clip.
2. Can I skip the storyboard gate if the script is clear?
No. The storyboard gate checks visual intent. A clear script does not tell you the framing, props, or on-screen text. Skipping this gate moves those decisions to the render stage, where they may require another render.
3. What if the final render has a small error?
Mark the shot Hold, not Approved. Log the error. Fix it and re-check the shot at Gate 3. Do not approve a shot with a known error, even a small one.
Next step
Pick one shot in your current project. Create a row in the shot table. Fill the storyboard evidence and owner columns. Run the shot through Gate 1 before you render anything. Then repeat for the next shot. The table becomes your approval record and your change log in one place.
For the earlier stage of turning a script into a visual plan, see How to Make a Video From a Script. For keeping a character or presenter consistent across shots, see How to Make Consistent Character AI Videos. For generating supporting footage that may appear in your shots, see How to Generate B-Roll.
Disclaimer: This article describes a general production workflow and illustrates it with a fictional example. It is not legal advice. Check your local laws and platform rules for accessibility, privacy, and disclosure requirements.
More from Kyndrify

Make your first video without filming.
Say what you need and the studio makes it: video, images, voices. Start free, no credit card.