

How to Make Vertical AI Videos for Reels & TikTok
Learn how to create 9:16 AI videos for TikTok, Reels, and Shorts. Use these tips to make engaging vertical content with preset avatars or your own face and voice on an eligible plan.
Most social feeds reward vertical videos. If your content is not 9:16, it simply gets less reach. This guide walks you through the whole process. You will learn which tools suit beginners, how to film in tricky light, and how to tweak one video for TikTok, Reels, and Shorts. You will also see practical examples and next steps for tracking results.
Why 9:16 video wins on mobile
Phone screens are tall. A vertical video fills the screen. That means fewer distractions. Viewers are more likely to stop scrolling and watch.
Short-form platforms actively prefer vertical. TikTok and Reels are built for 9:16. YouTube Shorts strongly favors it too. When you deliver what the platform wants, the algorithm tends to show your content more.
Before you start: a step-by-step approach
Making a vertical AI video is not just about picking the right ratio. Good results come from a clear workflow. Here is a simple path you can follow.

Step 1: Decide your goal and hook
One clear message works best. Ask yourself: “What one thing should a viewer remember?” Then build an opening hook that pulls them in immediately. Good hooks ask a question, tease a result, or challenge a common belief. Keep the hook in the first three seconds, because that is when most people decide to stay or swipe.
Step 2: Write a tight script
Short-form videos usually land between 15 and 60 seconds. A script keeps you focused. Aim for about 30 to 90 words for a 30-second clip. Read it aloud. If it sounds stiff, shorten your sentences. Simple, conversational language retains attention much better than long, formal sentences.
Step 3: Film your base footage (or record your AI sample)
If you plan to use an AI tool that clones your face and voice, you need a clean reference recording. Here is how to get it right:
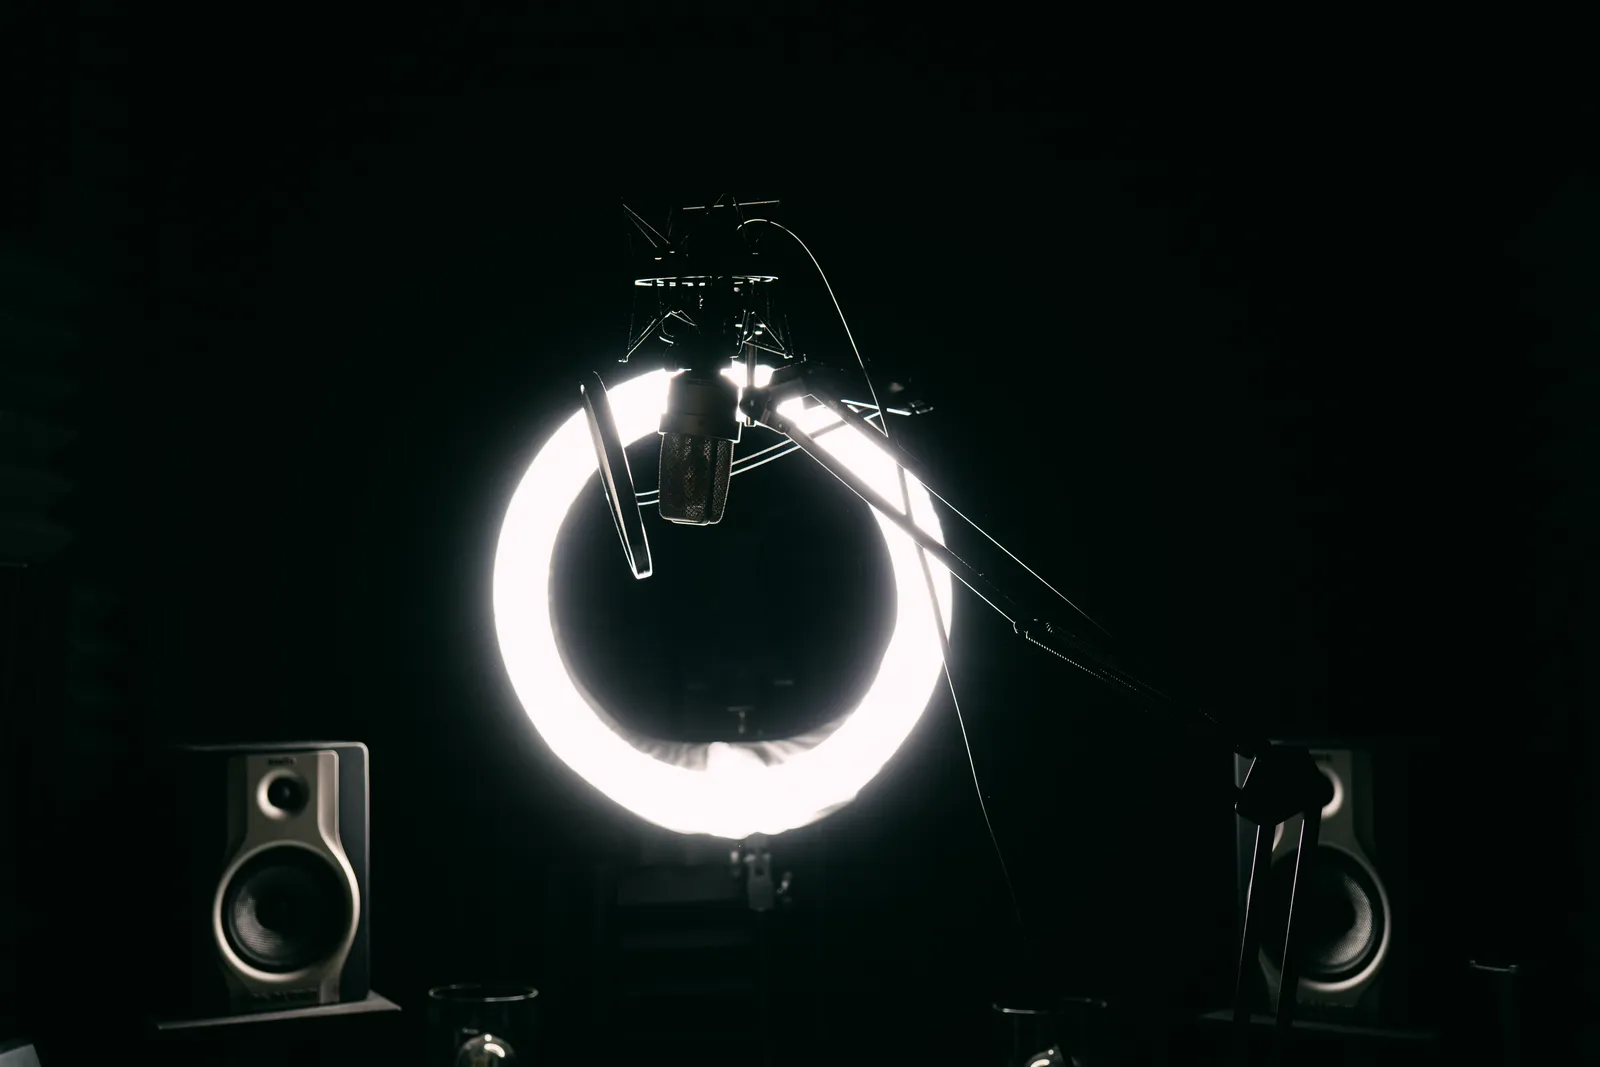
- Lighting: A soft, even light from the front works best. Sit facing a window during daytime. If you are indoors, use a ring light placed just above eye level. Avoid strong backlight (like a bright window behind you). Harsh shadows on your face can confuse the AI.
- Sound: Record in a quiet room. Even a small USB microphone improves voice clarity a lot. When background noise is low, the AI generates cleaner speech later.
- Framing: Keep your head and shoulders in the center of the frame. Leave a small margin above your head. The AI needs a clear view of your face with minimal movement. A plain wall or tidy bookshelf works well. Avoid busy patterns that might distract the tool.
- Duration: Most AI video platforms ask for two to five minutes of sample footage. That gives enough data for a realistic avatar.
If you are not cloning yourself, you can skip this step and use stock footage or screen recordings instead.

Step 4: Choose your video creation tool
Beginners often wonder which software to use. There are three layers you might need: a script-to-video AI tool, an editor, and a caption tool.
- AI video generation with your face and voice: Kyndrify takes your script and generates a 9:16 talking-head video. Free renders use preset avatars and voices. Own-face rendering and voice cloning are available on an eligible plan such as Plus. You can add captions, images, and B-roll in a separate editor. This cuts editing time a lot.
- Beginner-friendly editors: CapCut (which is owned by ByteDance) is free and offers vertical templates, auto-captions, and easy trimming. Canva’s video editor also has a strong library of vertical templates and animated text. Both are good for polishing clips you already recorded.
- Captions only: Most platforms now have built-in auto-captioning. However, manual editing of captions in CapCut or Canva gives you more control. Bold, word-by-word captions often perform better than plain subtitles.
Start simple. Often, just a Kyndrify avatar video plus auto-captions is enough for a solid post.
Step 5: Assemble your vertical video
Open your chosen tool and set the canvas to 9:16 (1080 x 1920 pixels is standard). Place the main visual, whether it is your face, a product demo, or a screen recording, in the center.
Reserve the top and bottom edges for the “safe zone.” App interfaces cover the very top and bottom of the screen. Keep text, faces, and important details about 15 percent away from the top and bottom edge. Instead, let background images or subtle gradients fill those areas.
Add captions near the bottom, but above the platform’s interactive buttons (like the comment and share icons). On most apps that is about the lower third of the screen.
Step 6: Export and check
Export at 1080p or higher. Watch your video full-screen on your phone before posting. Open it in the app where you plan to publish. Check that no buttons cover your face or captions. If they do, adjust the placement and export again.
Platform-specific optimization tips
Each short-form platform has its own quirks. Here is how to adapt the same vertical AI video for three different feeds.
TikTok
TikTok’s creator portal advises using 9:16 video and keeping key elements near the center. The app’s right-hand UI (like, comment, share) overlaps the side edge. Make sure your face and captions are not hidden by those icons. TikTok also supports sound-on browsing, but many still watch muted. Always add captions. Looping content that replays smoothly can get extra watch time, so think of a seamless end that flows back to the start.
Instagram Reels
Reels also demands 9:16 video, at least 1080 x 1920 pixels, per Instagram’s help center. The bottom portion of a Reel is covered by the caption and interaction bar in the feed. Move any critical text higher, into the middle of the frame. Hashtags matter much less on Reels than on older Instagram posts, but a few relevant ones still help discovery. Pacing matters: Reels users often scroll quickly, so jump into the value right away and avoid slow intros.
YouTube Shorts
Shorts uses the same 9:16 canvas. YouTube’s official guidance says keep videos under 60 seconds. The comments and buttons on the right can cover graphics, so mirror the TikTok tip: keep vital visuals in the center. Shorts can appear in the Shorts shelf, in search results, and on your channel page. Because YouTube viewers may come from search, a clear title and description help long-term discoverability. Also, avoid reusing TikTok watermarks; YouTube states that excessively recycled watermarked content may be shown less. Export a fresh, clean version for Shorts.
Handling tricky lighting and other edge cases
Sometimes you cannot control the environment. Here are practical fixes:
- Low light: If you must record in a dim room, use a front-facing light. Even a small LED panel or a desk lamp pointed at a white wall near your face softens shadows. Increase the camera’s exposure a little. Avoid digital zoom, which amplifies grain.
- Outdoor shooting: Overcast days provide the most even light. Direct sunlight can squint your eyes and cast harsh shadows. When filming outside, position yourself so the sun lights your face from the side or front, not from behind. A pop-up reflector (even a white foam board) can bounce light onto your face.
- Glasses and reflections: If you wear glasses, angle your light source slightly to the side, not directly at eye level. That stops bright reflections in the lenses. Some AI tools handle glasses better than others; test a short clip first.
- Moving shots: AI avatars often work best with a steady, front-facing setup. If you want a walking or dynamic shot, film it traditionally and then use the AI-generated face on a stable background. That hybrid approach still looks native.
Real-world uses for vertical AI videos
You do not need a huge content team. Many small brands and creators are already using this workflow. Here are a few common scenarios:
- Daily tips from a coach: A business coach records one core thought. They turn it into a script. Kyndrify creates a vertical avatar video of them explaining the tip. They post it to Reels and TikTok in the morning. The same clip goes to Shorts later in the week.
- Product explainers: An e-commerce owner writes a 45-second script about a single product feature. The AI avatar delivers it while product photos pop in as B-roll. This replaces the need for expensive video shoots.
- Repurposing talking-head clips: A content creator films a long-form horizontal video for YouTube. They pull a 40-second “micro-lear” from the transcript, then use an AI tool to generate a fresh vertical version with the same voice and face. This one idea now lives on three platforms.
These examples work because they start with a focused message, not a broad theme.
Next steps: tracking performance
Posting is only half the game. You need to know what sticks. Each platform offers free analytics that tell you a lot.
- TikTok: Check average watch time and “watched full video” percentage. If retention drops after the first two seconds, your hook needs work. The “traffic source types” report shows whether people find you via the For You page, search, or your profile.
- Instagram Reels: Look at reach and plays. A high ratio of follows to reach suggests your content is converting viewers into followers. Instagram Insights also shows drop-off points in the viewer graph.
- YouTube Shorts: In YouTube Studio, check “swipe away” vs. retention. Similar logic applies: a sharp early drop means the intro did not hold attention.
Use that data to refine your hooks, length, and topic choices each week. Small tweaks add up fast.
For a related guide, see TTGC's AI Avatars for YouTube and TikTok: A Practical Guide.

Frequently asked questions
What is the best aspect ratio for TikTok?
The 9:16 aspect ratio works best for TikTok videos.
Can I use Kyndrify to make vertical AI videos?
Yes, you can create 9:16 AI videos with Kyndrify. Free renders use preset avatars and voices. Own-face rendering and voice cloning require an eligible plan such as Plus.
How do I keep viewers engaged in a vertical video?
Start with a strong hook. Keep captions clear. Use engaging visuals and audio.
Do I need to make separate videos for TikTok, Reels, and Shorts?
You can reuse content across platforms. Just tweak the format slightly for each one.
What is the safe zone in vertical video?
The safe zone is the area where text and key elements should stay. It’s usually at the top and bottom of the screen.
How long should my vertical AI videos be?
Short-form videos work best. Aim for 15 to 60 seconds.
Social media algorithms change. What works today might need a refresh next quarter. Test different lengths, hooks, and styles often. And let your analytics, not assumptions, guide you.
More from Kyndrify


The tools that do this
Make your first video without filming.
Say what you need and the studio makes it: video, images, voices. Start free, no credit card.